Thanks to advancements in camera technology, it is now possible to take a vast number of pictures from slightly different positions all at once! (Note that all these images will be on the same orthogonal plane with respect to some optical axis on the subject.) The resulting grid of images allows photographers a degree of control over their images previously unimaginable. This project explores two such forms of control (focusing and aperture) and how we can achieve different effects with simple shifting and averaging.
I. DEPTH REFOCUSING
As you have probably experienced first-hand, objects in your field of vision seem to move around more drastically in proportion to their proximity from you. Thus, if you open your eyes, close them, and then take a step to your right, a tree one foot away will seem to have moved quite a fair distance in comparison to, say, a waterfall in the horizon. We can take advantage of this phenomenon as a conceptual tool for refocusing captured images! Normally, when you set out to take a photo, you decide what parts of the chosen view will be in focus, and what parts will be out of focus. Your camera settings will then be adjusted according to these decisions. With light field data and some simple image processing, however, we can grant ourselves the freedom to focus anywhere in the captured view during post-production!
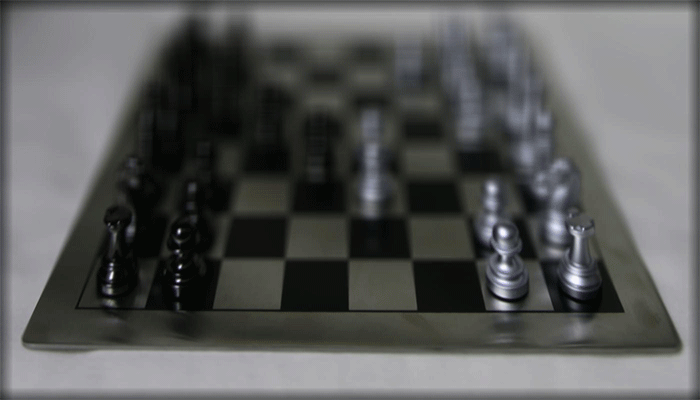
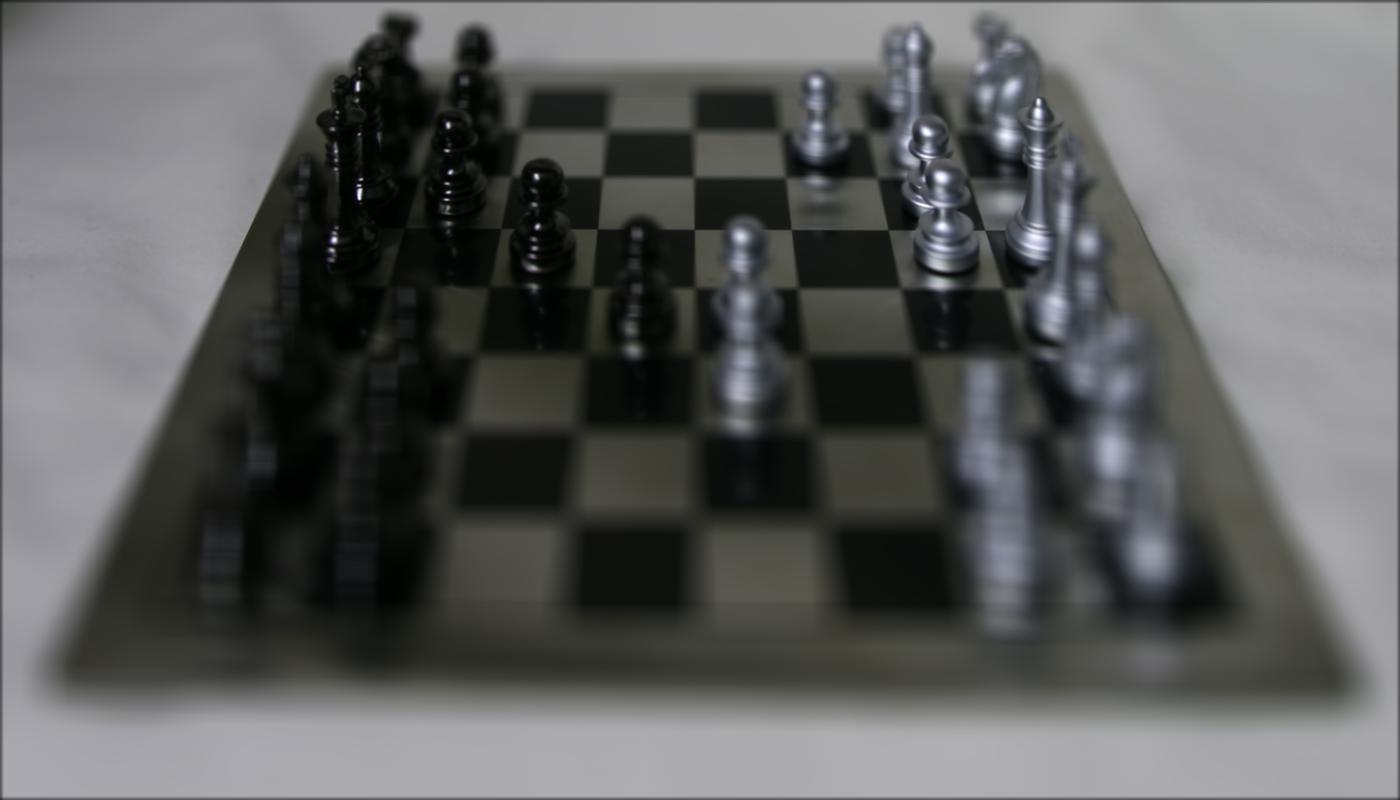
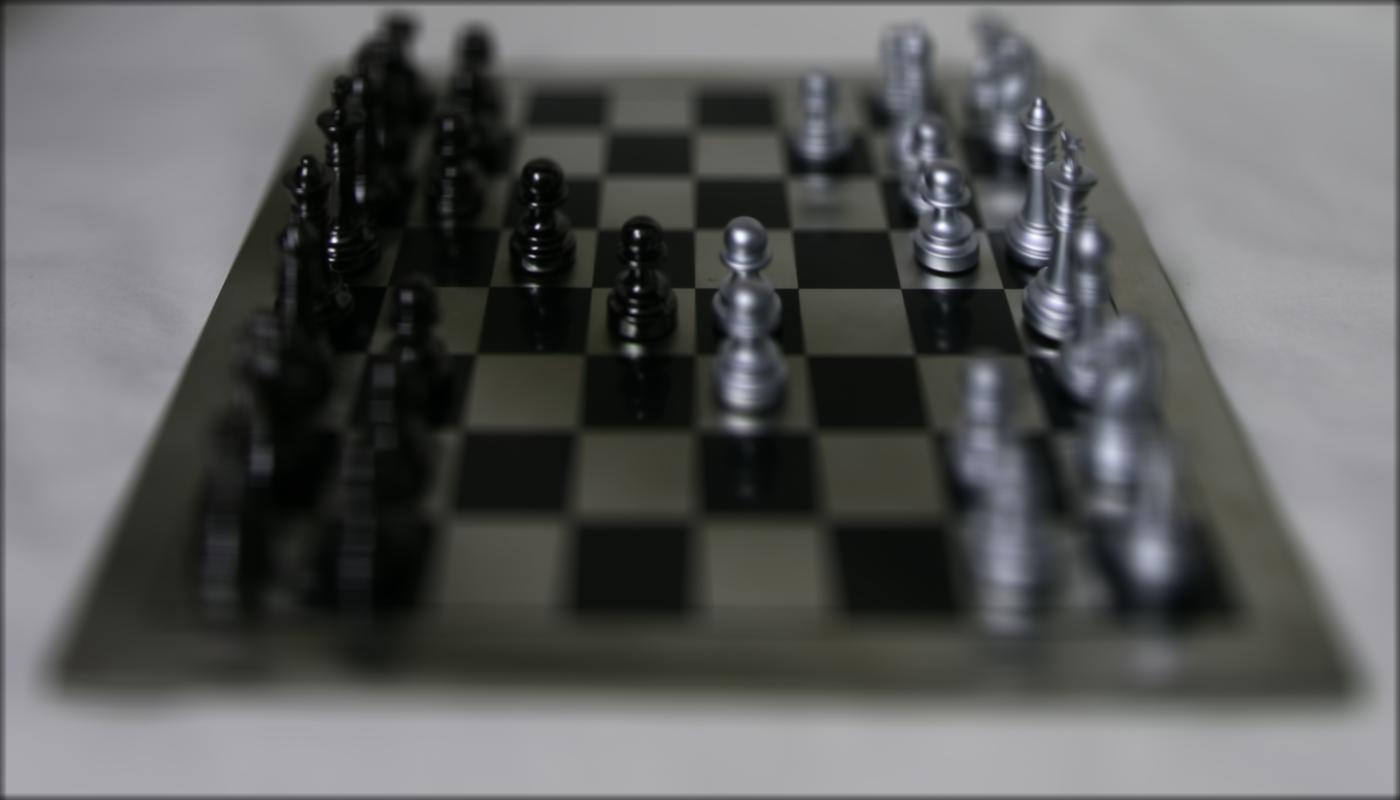
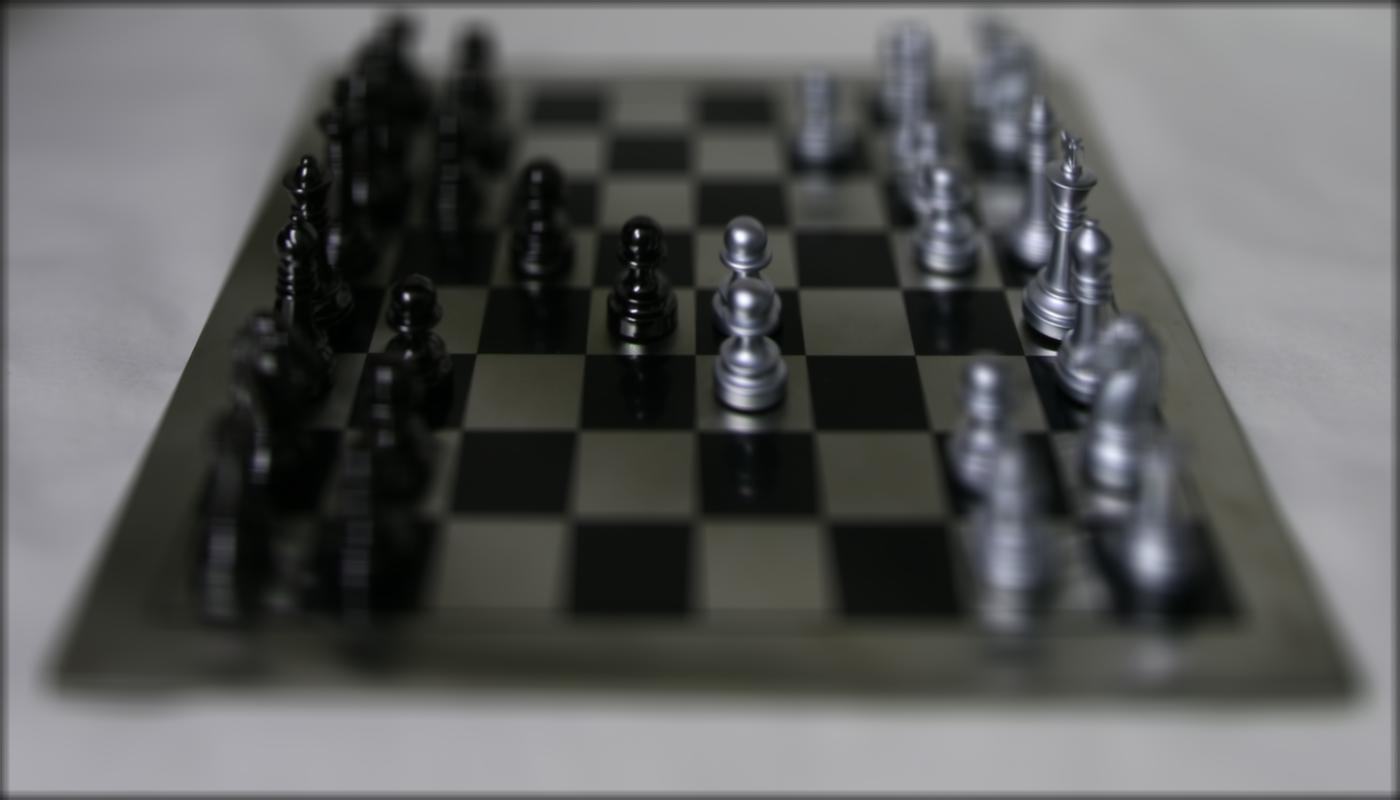
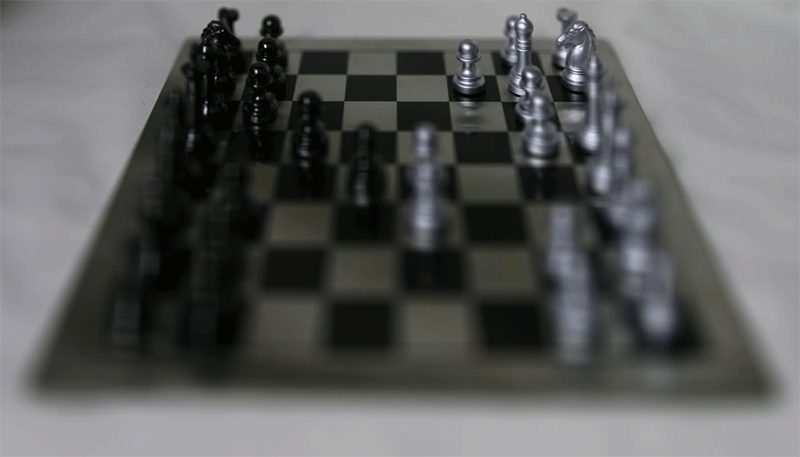
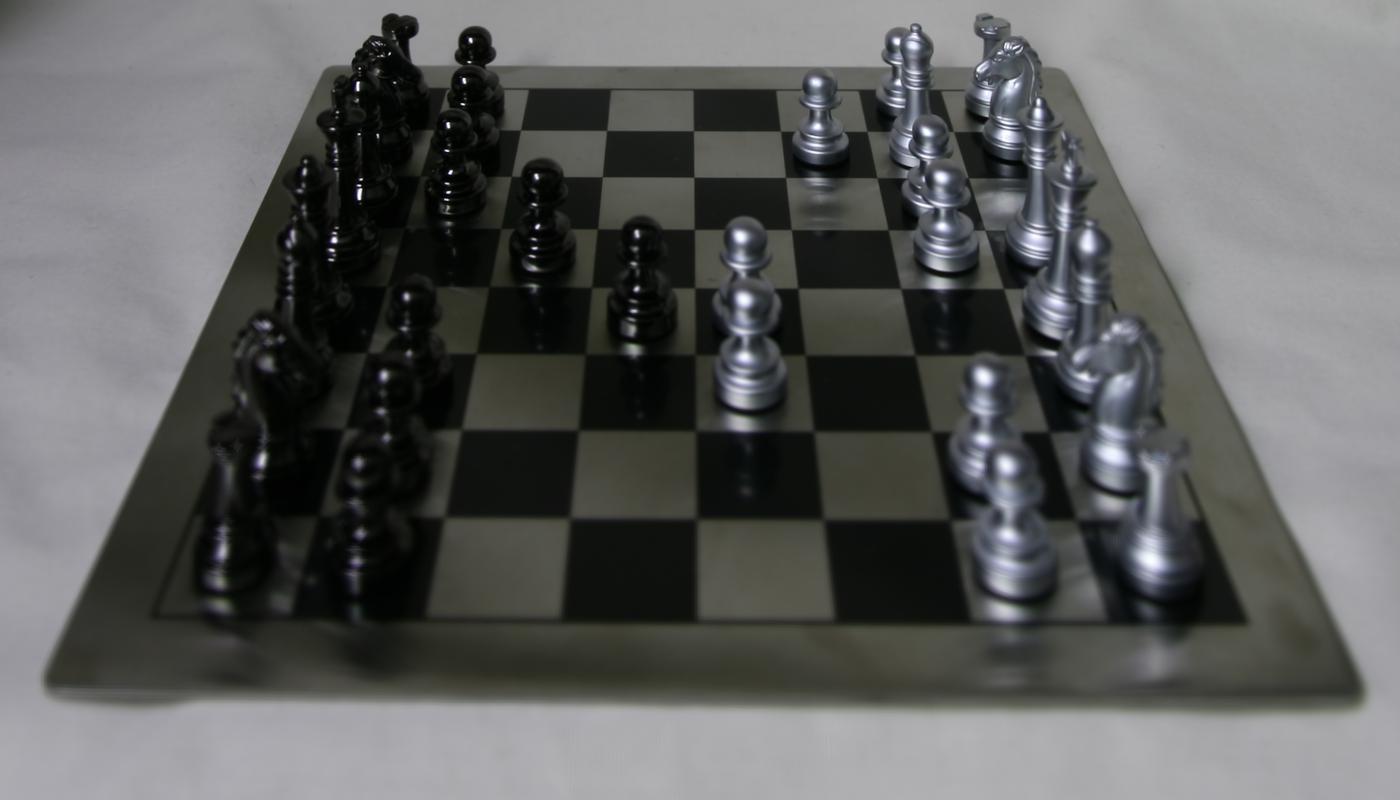
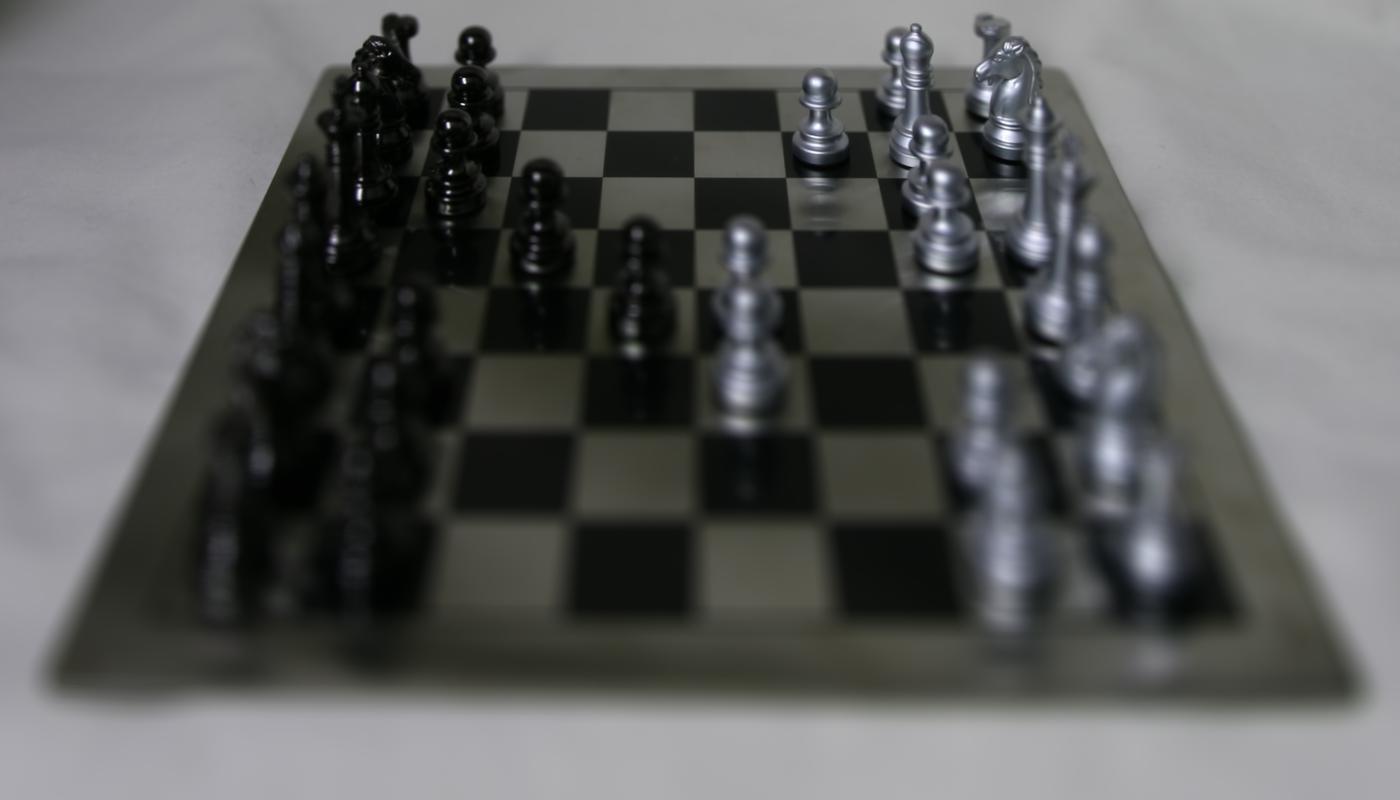
To accomplish this, we can take light field data from Stanford’s Light Field Archive, which provides images taken in a 17x17 grid pattern for a selection of objects. By shifting around these individual images, we can create a composite with any point of focus of our choosing. For this implementation, I chose the centermost image (grid position: row 8, col 8) as my point of reference. By shifting all the images in the grid by a constant C with respect to their relative positions (u,v) from (8,8), we can control how much the image set converges or diverges from the center. (We shift images C * u along the row axis and C * v along the column axis. The actual direction of the shift depends on how the images in the dataset were taken.) Thus, a larger C means refocusing closer to the physical focus (whatever the focus was when the center image was taken) and a smaller or even negative C means refocusing farther (the image will be blurrier overall). The final image is produced by adding up all the shifted images and taking the average. In the displayed examples, the frame rate is 0.1 sec per image.
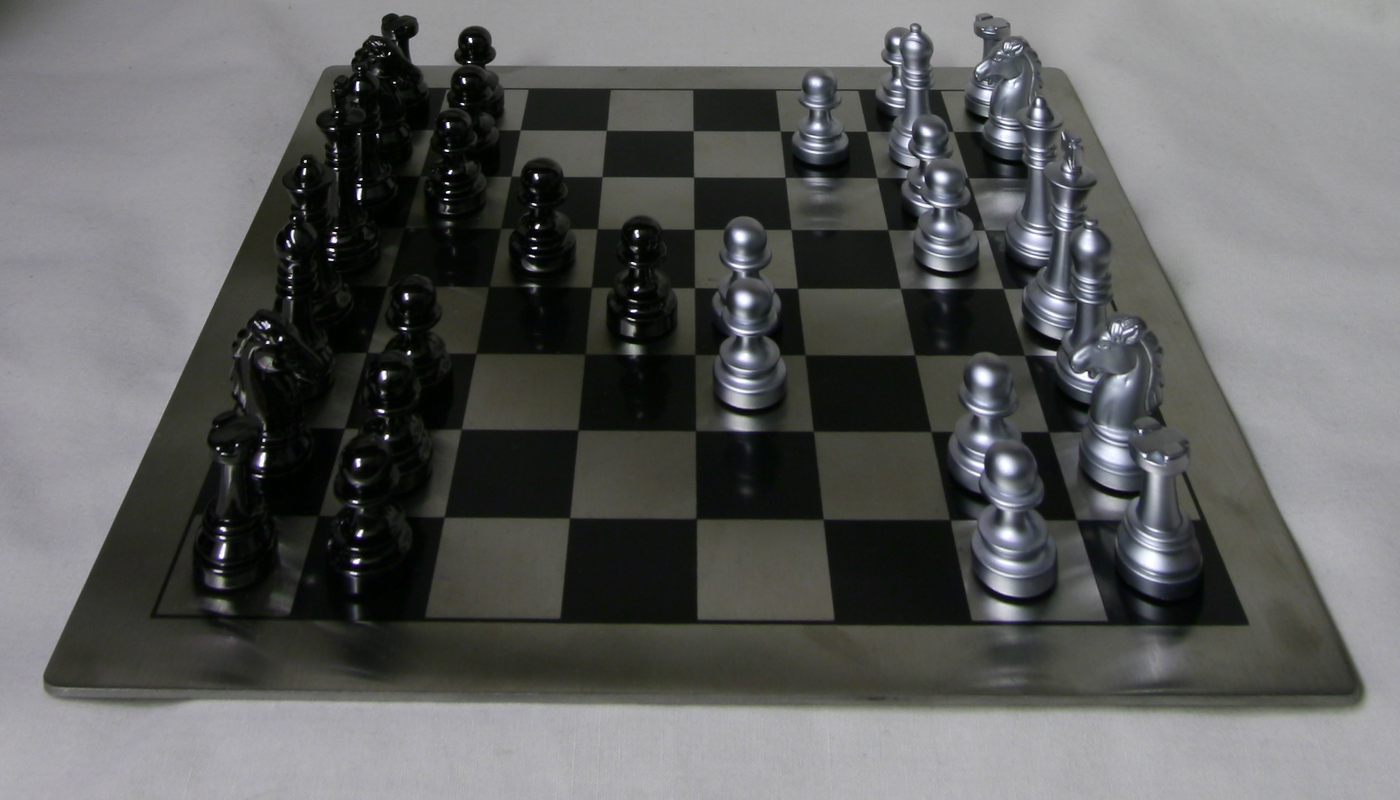
Original center image at (8,8)
Refocused images with C range (-3, 3) in steps of 0.2


C = -3

C = -1

C = 1

C = 3
Original center image at (8,8)
Refocused images with C range (-3, 3) in steps of 0.2
C = 0.4
C = 0.8
C = 1.2

C = 1.6
II. APERTURE ADJUSTMENT
We can use similar averaging techniques to simulate aperture adjustment. The aperture of a camera refers to the hole in the lens, which controls how much light enters the camera. Thus, the size of the aperture directly impacts the resulting photograph’s depth of field. The larger the aperture, the smaller the area in focus.
To create this effect, we simply need to sum and average only a certain subset of the image grid. I used the sum and subsequent average of (unshifted) images within a certain radius of the center (8,8) photograph to create various aperture effects. The larger the radius, the more images in the resulting composite, and thus the larger the simulated aperture.
This works because each light field image represents all the light rays at one point, similar to a pinhole. Thus, because images closer to each other are still somewhat similarly aligned, the result image has a larger depth of field. But as we add in images taken farther and farther away from each other (larger radius), the differences in alignment become more drastic and we end up with a photograph with the unaligned portions wildly blurred out, simulating a wider aperture. You'll notice that as the aperture gets larger and larger, only the objects farther away in the image stay in focus because they moved the least (in comparison to closer objects) with respect to the view from which the individual photos were taken. (The frame rate of all examples is 0.1 sec per image.)
Radius 0: Original image at (8,8)
Aperture adjusted images with radius range (0,10) in steps of 1

r = 2

r = 4

r = 6

r = 8
Radius 0: Original image at (8,8)
Aperture adjusted images with radius range (0,10) in steps of 1
r = 2

r = 4
r = 6

r = 8
III. TAKEAWAYS
Prior to this project, I was completely unfamiliar with light field technology. I never even knew such a thing was possible. Playing around with light field data has helped me better understand the concept of depth of field and of what it means for a portion of an image to be in focus.