ONE. Tilt Shift Photography: The Illusion of Miniaturization
’Tis the season for delicious baked goods, frosty fingers, toasty fires, ice skating, and festive window displays! And now, with tilt shift photography, you too can capture your own mini-window-display-like scenes with your camera and show them off to your friends and family!
Tilt shift photography is a technique for simulating a miniature holiday-window-display-like scene by tilting / rotating the camera to control the depth of field and shifting the lens to modify the level of zoom. Tilting functions to ensure that the lens plane, plane of focus, and image plane are not all perpendicular. Examples of tilt shift photography can be seen everywhere. The opening sequence of Stephen Colbert’s Late Show, for instance.
Luckily, this technique can be simulated programmatically, so we don’t all have to go purchase expensive tilt lenses or Adobe Photoshop! Here’s the recipe:
HOW TO MAKE YOUR OWN FAKE MINIATURE IMAGE
What you'll need:
- A photo
- 1/2 the depth of field value (units: pixels)
- Defocus strength value (units: max level of Gaussian blur)
Procedure:
- Have the user specify two points that represent the “focus line.” This is the center of the area of the photo that will be in focus. The line can be diagonal, horizontal, or vertical.
- Duplicate your image and apply a Gaussian blur to it. Then duplicate the blurred image and apply the Gaussian again. Repeat this for defocus_strength number of times so that you end up with defocus_strength number of images that all have progressively higher levels of blur. Your last image will have had a Gaussian applied defocus_strength number of times. Save these images (I put them in a dictionary for easy access).
- Calculate the distance of every pixel from the focus line. I kept this information in a matrix.
- Build the minified image! The DOF half-width value given in the ingredients list specifies the pixel boundaries of the focus area; in other words, all pixels within a distance of the given DOF half-width have the values of the original photograph.
- Increase the image saturation so it looks more ethereal and whimsical.
For the rest of the image, pixels are split into defocus_strength number of groups above and below the DOF area based on their distance from the focus line. This is done by taking the farthest distance (over all the pixels) from the focus line and dividing it by defocus_strength, which gives the thickness of each section. Pixels in section 1 will be assigned pixel values from the image with 1 layer of Gaussian blurring. Pixels in section 2 will be assigned pixel values from the image with 2 layers of Gaussian blurring, and so on and so forth. Of course, to avoid visible seams between the sections, some alpha blending will have to be done based on the pixel’s distance from the previous interval.
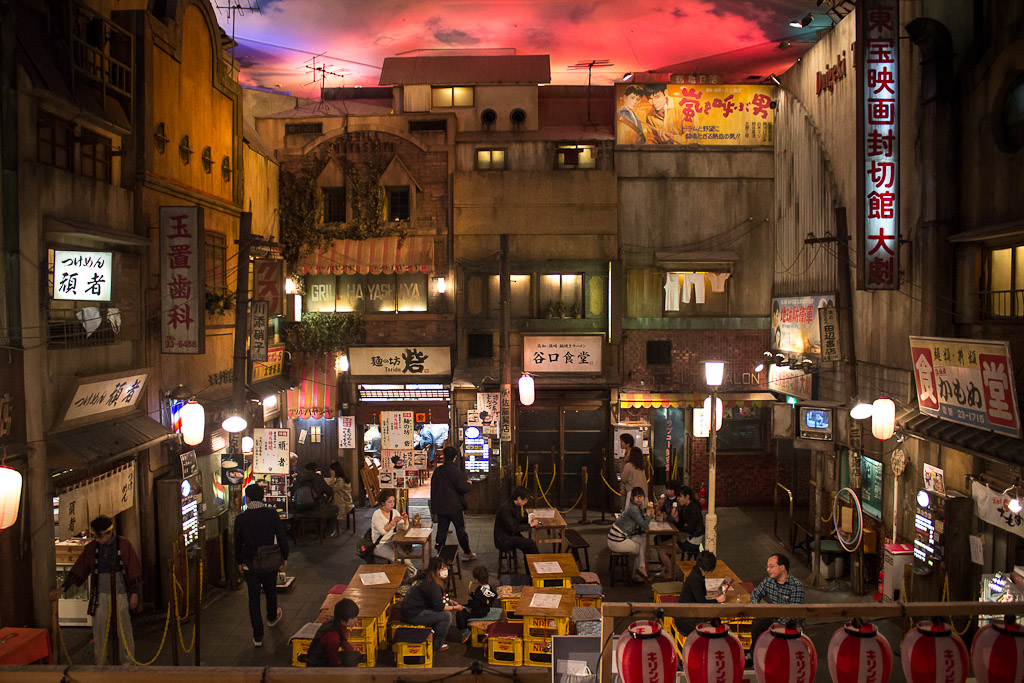
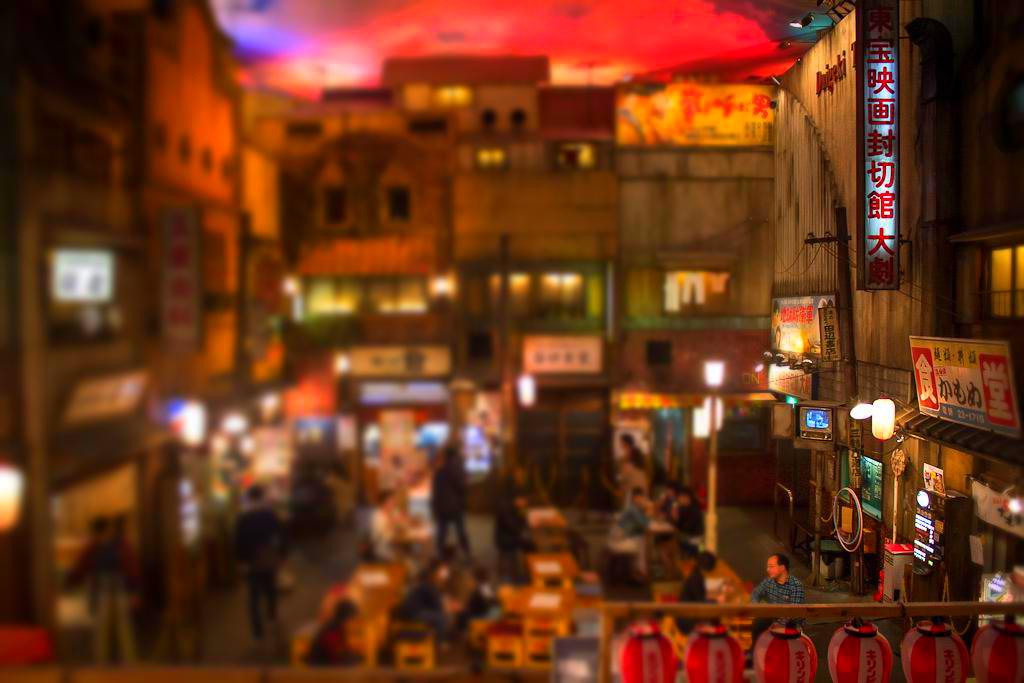
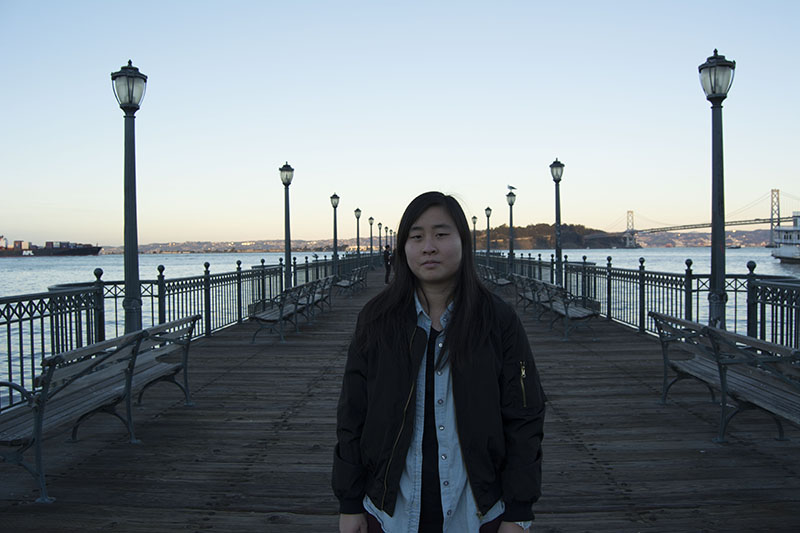
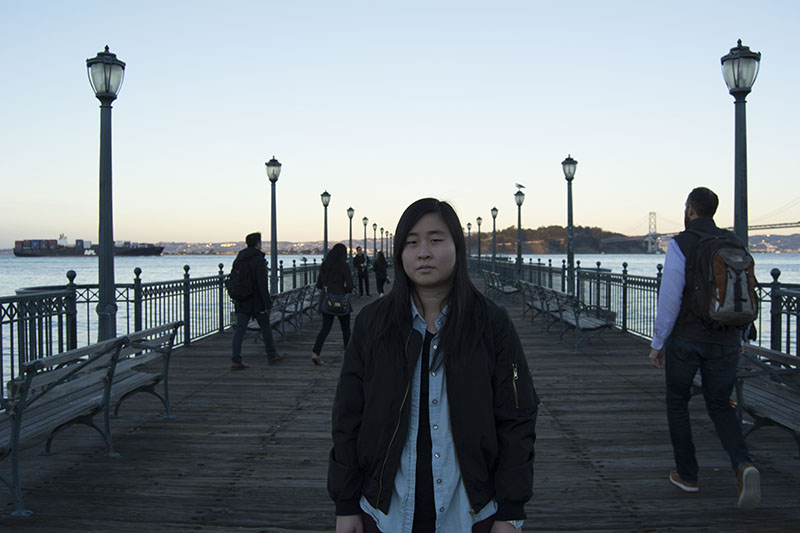
A SELECTION OF SAMPLE MINIATURES
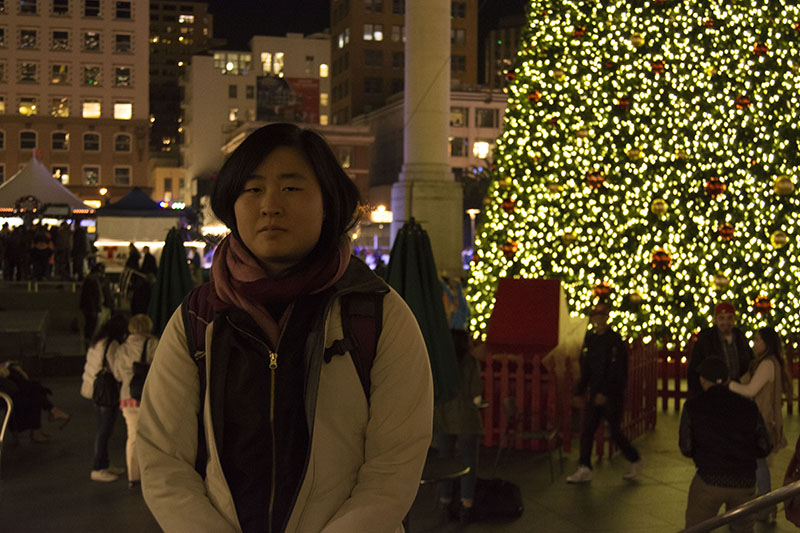
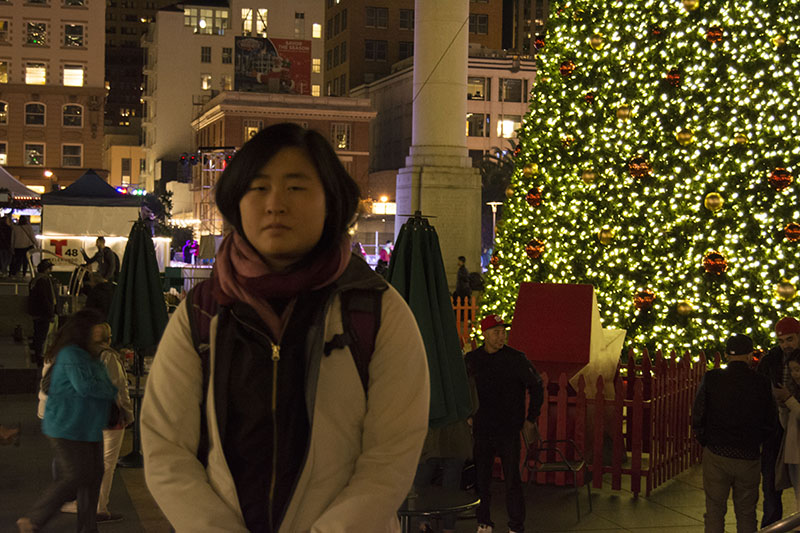
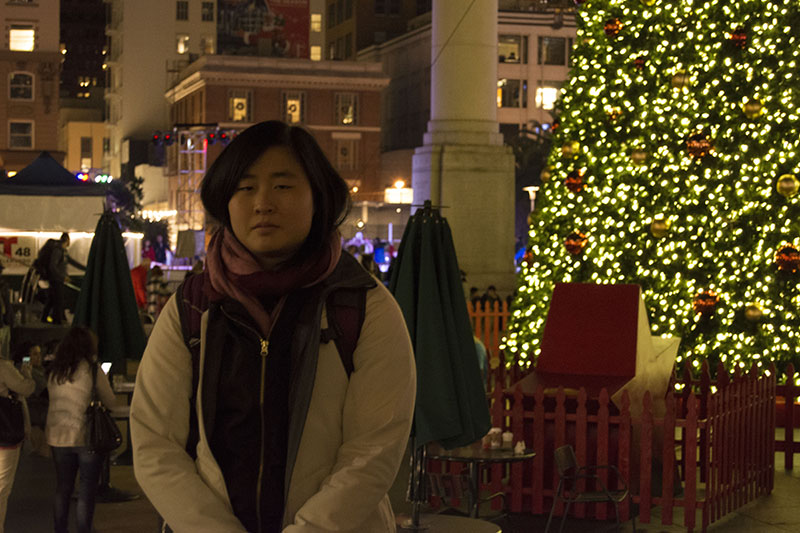
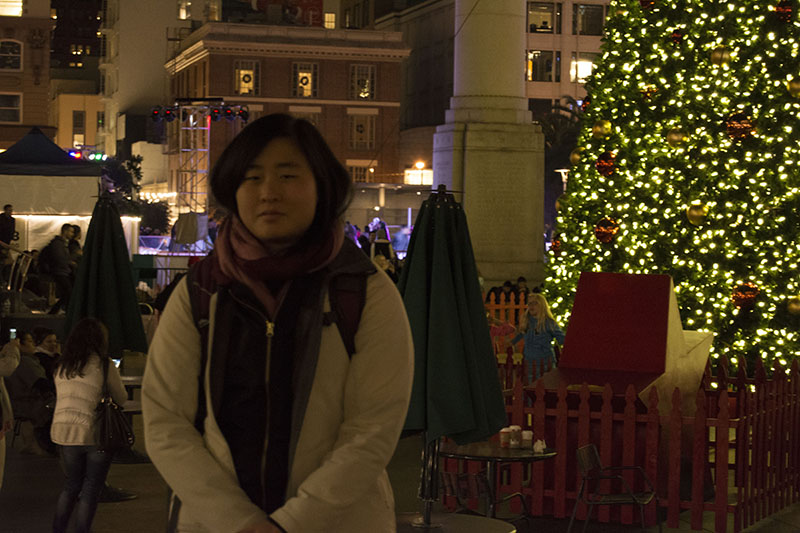
Below is a selection of images I tried this technique on. In general, it seems to work quite well. It usually took a few tries to get the focus line and area just right, however, depending on the image. I had to imagine what I might do if I were really taking photos of a dollhouse setup and choose my focus line from there. Additionally, defocus_strength must be chosen carefully. For smaller images, smaller values must be specified for defocus_strength. This is because defocus_strength determines into how many sections the photo is divided. If a picture is too small and the user specifies a high defocus_strength, the photo will be split into many sections. In such cases, a noticeable seam may appear between interval transitions because the amount of space available for transitioning from one interval to another is too short to produce a smooth change.
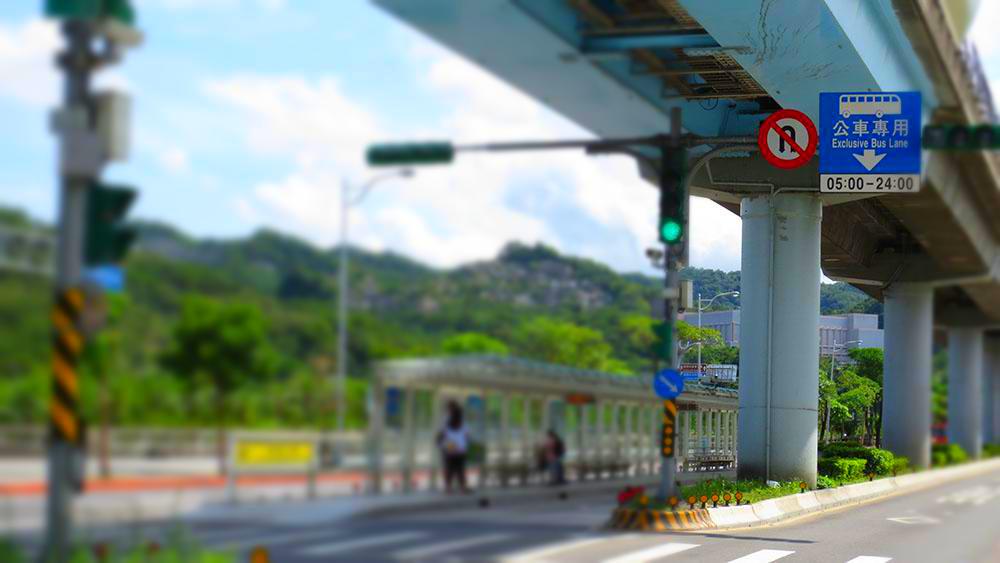
1. PHOTOS I TOOK IN TAIWAN
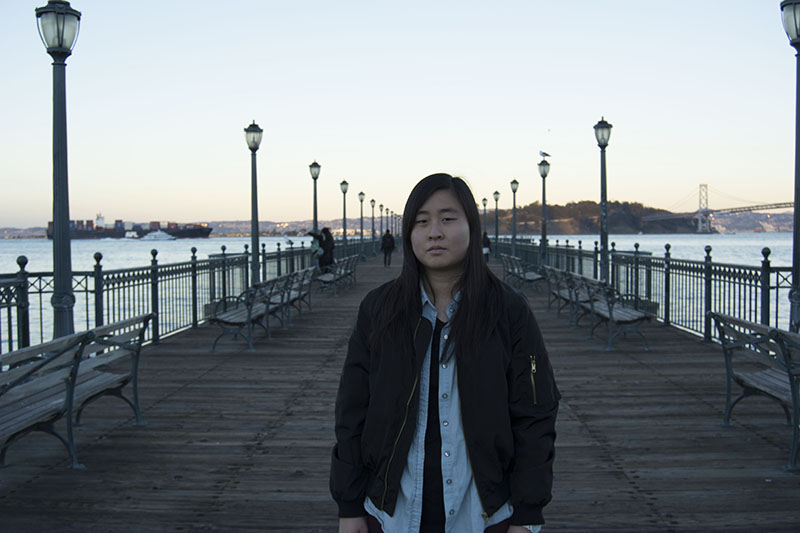
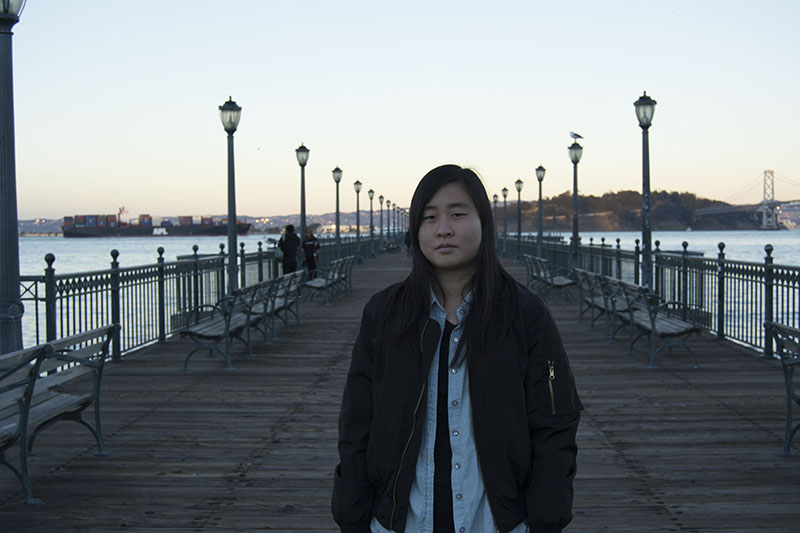
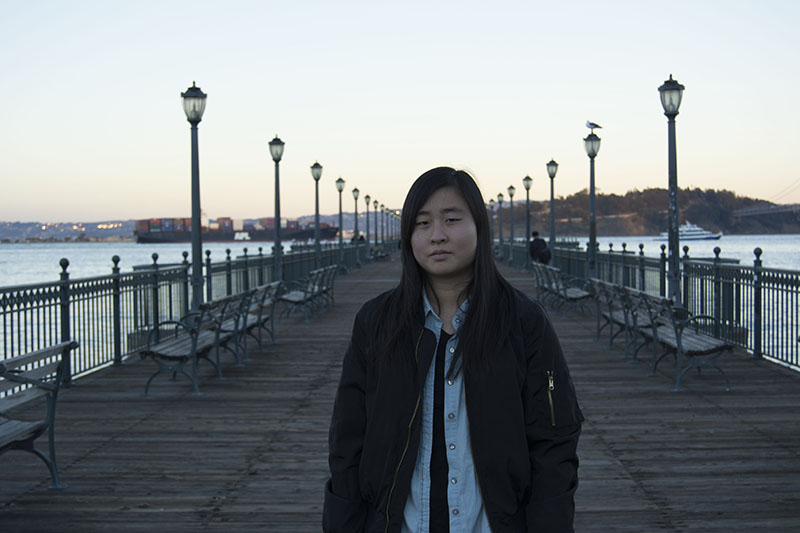
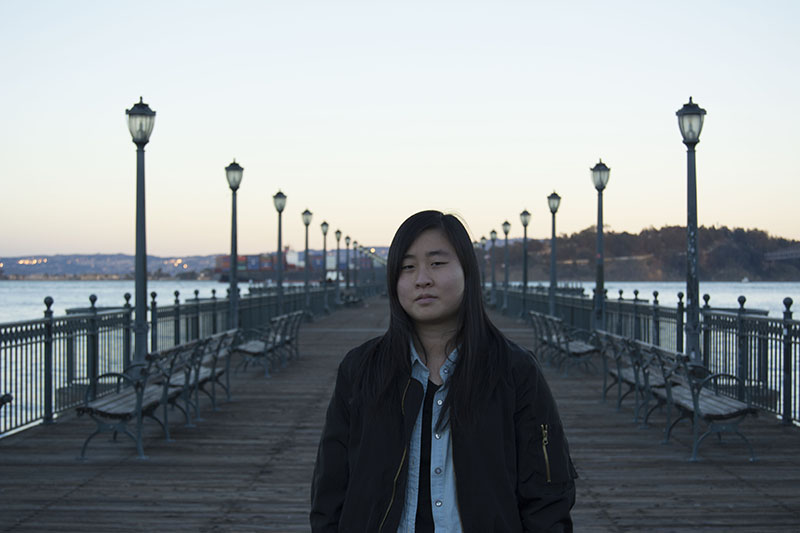
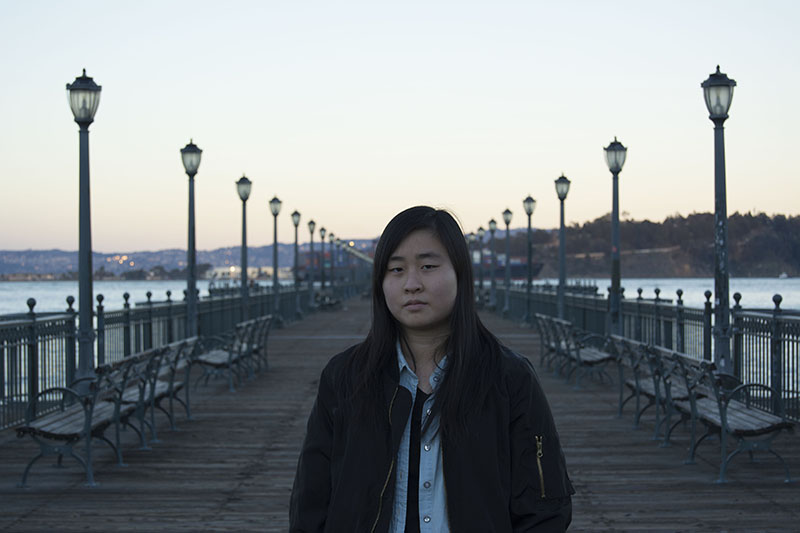
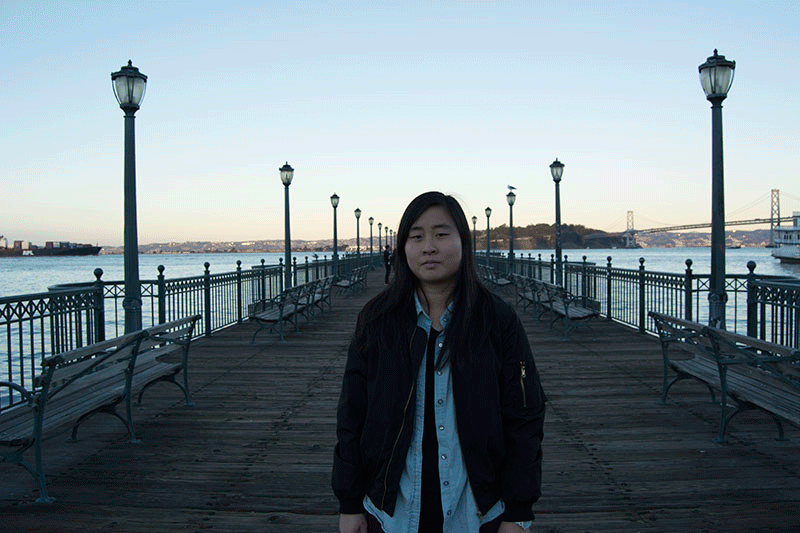
Original Image
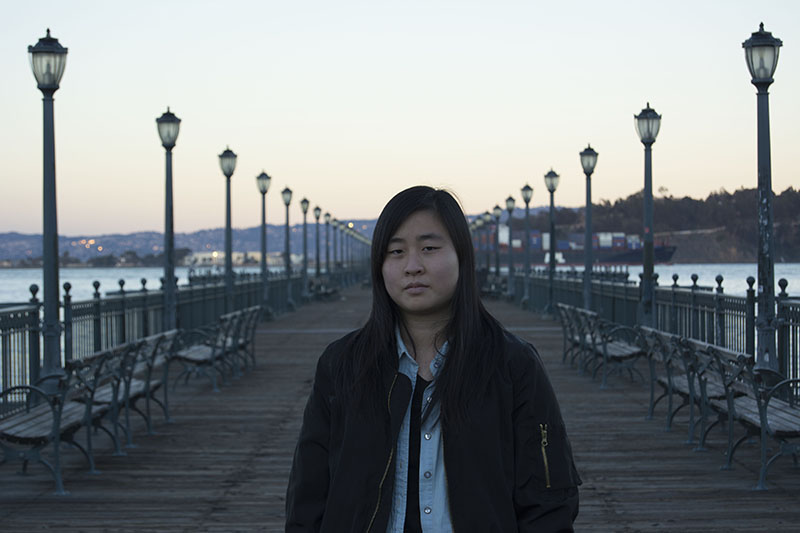
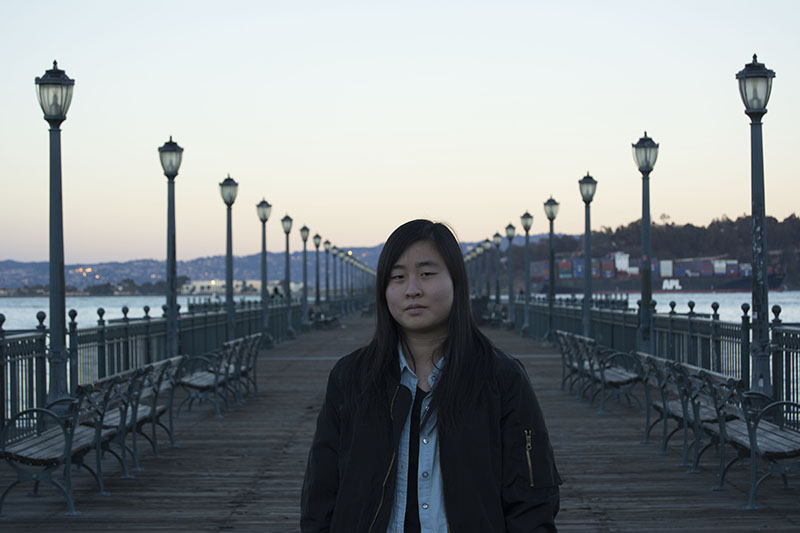
Tilt Shift Version

A small channel in Hsinchu

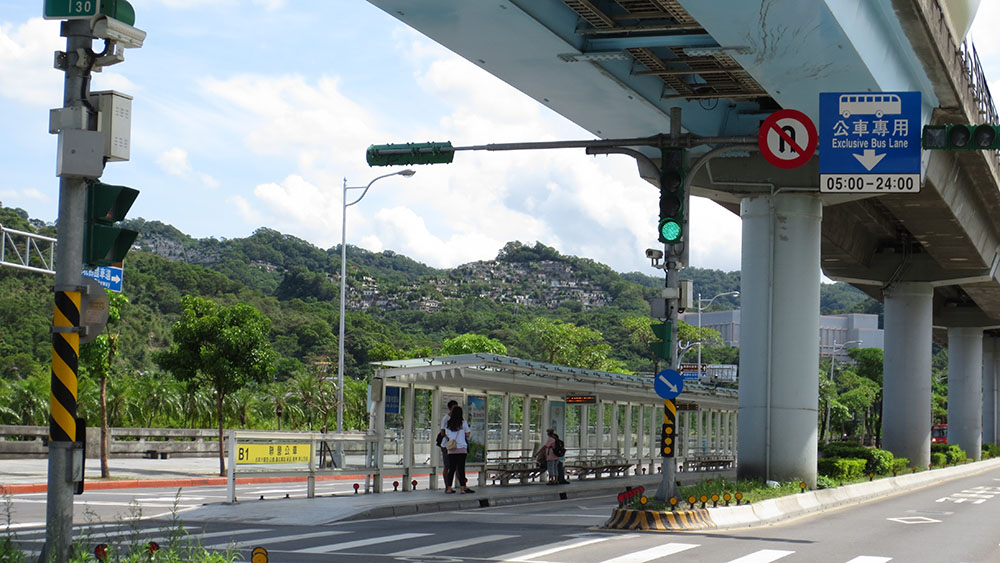
A public tranportation station in Taipei
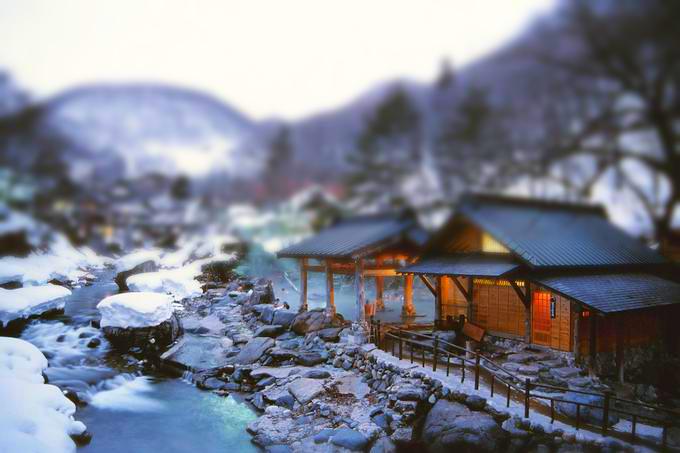
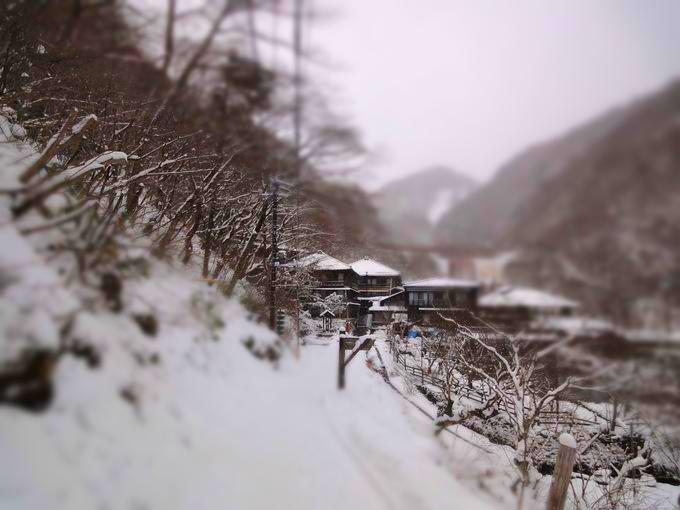
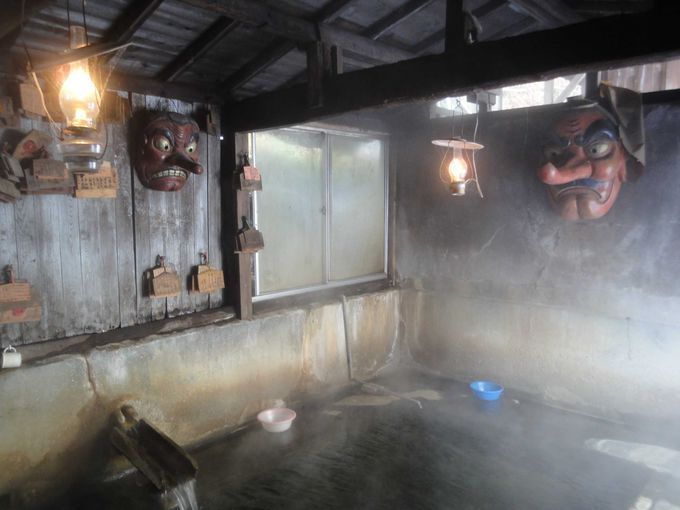
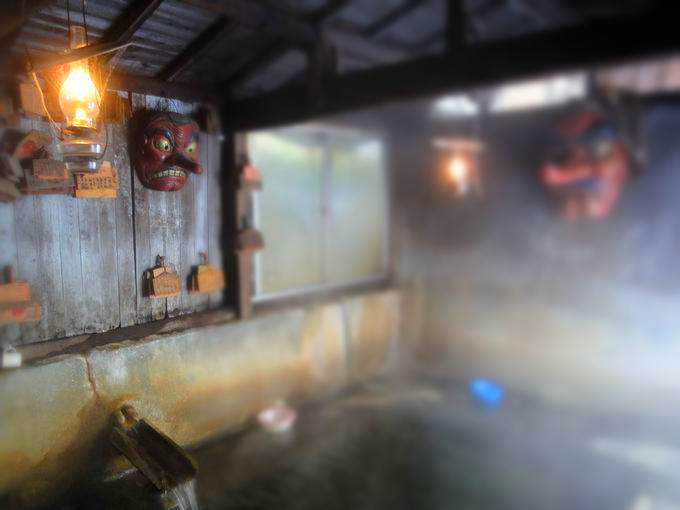
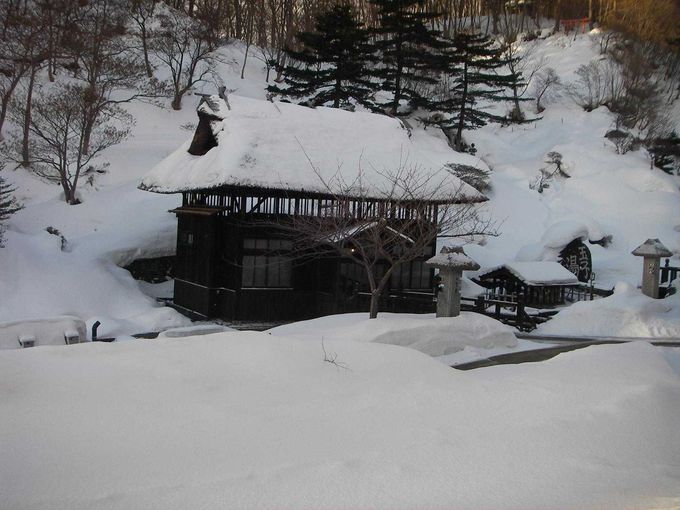
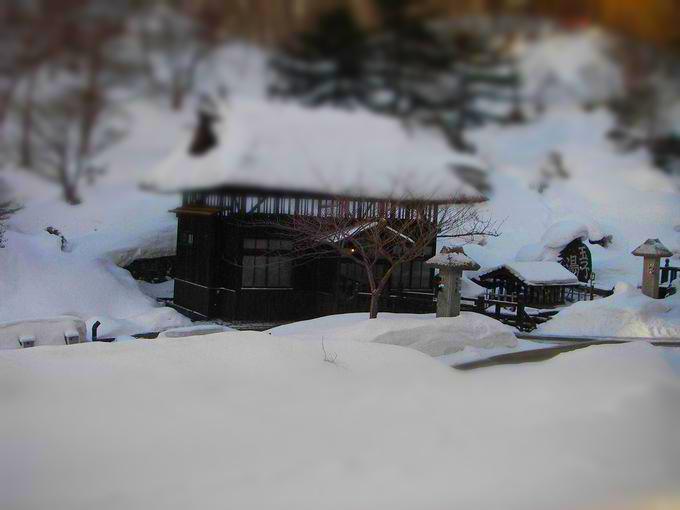
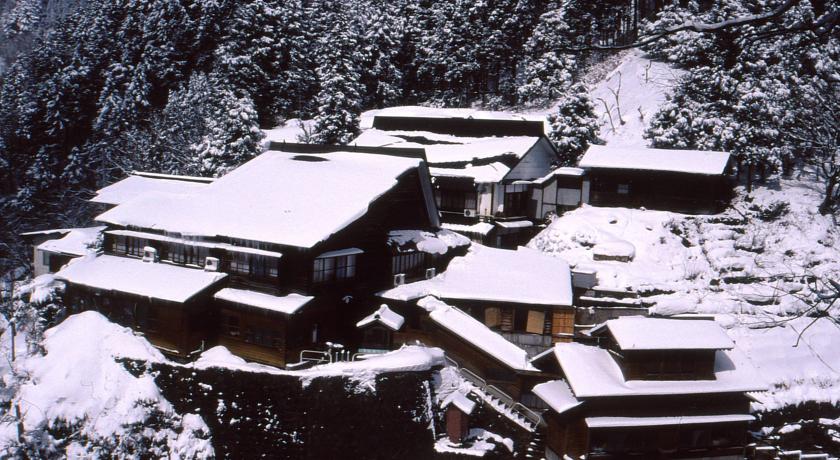
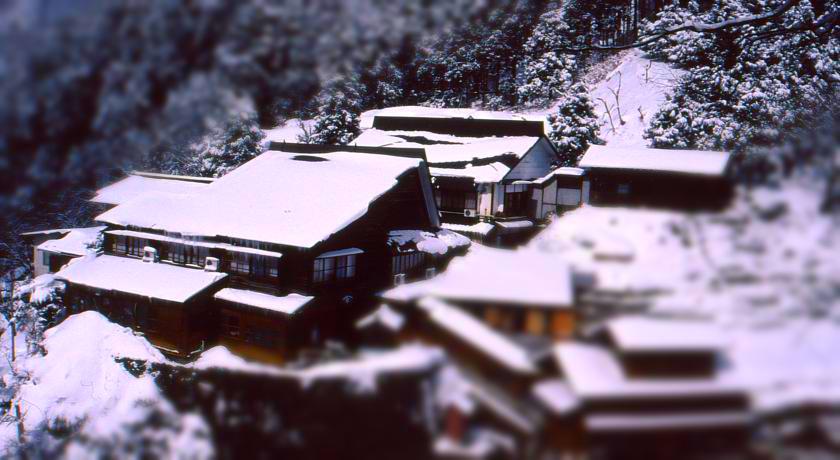
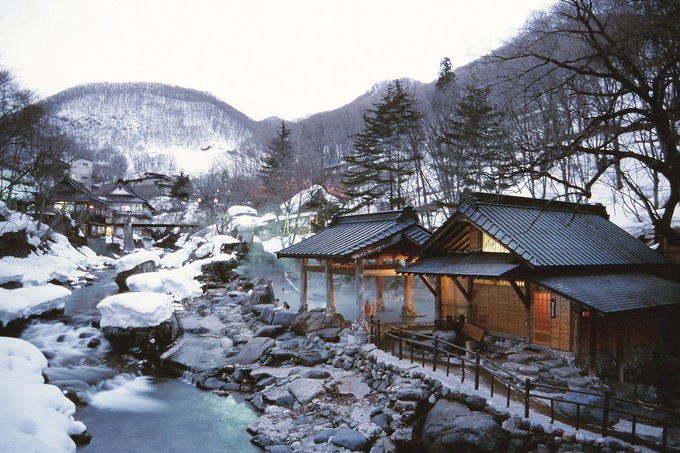
2. MAGOROKU ONSEN AND KITA ONSEN IN JAPAN
Credit: This article from RocketNews24 and Google Images for Magoroku Onsen
Original Image
Tilt Shift Version

Magoroku Onsen
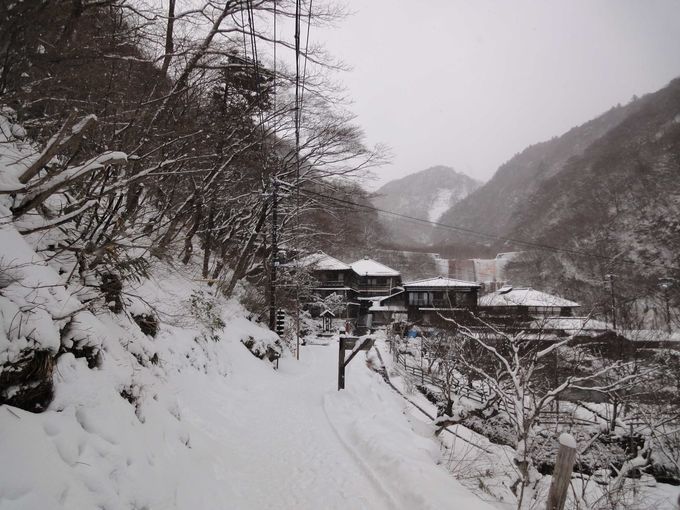
Kita Onsen
Kita Onsen is thought to have been discovered by a Tenguu
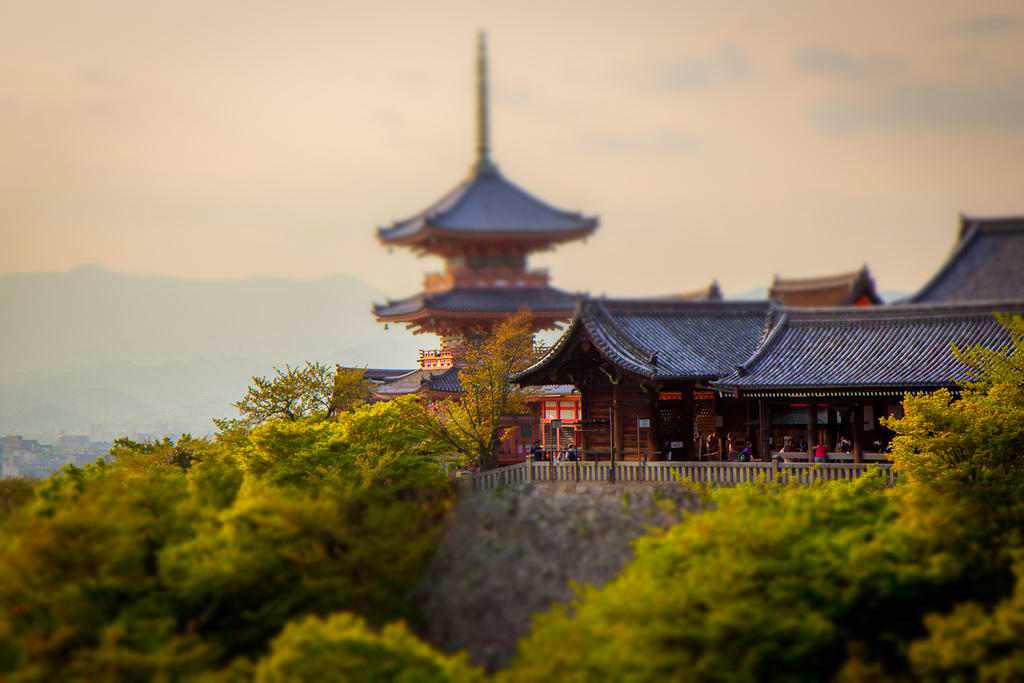
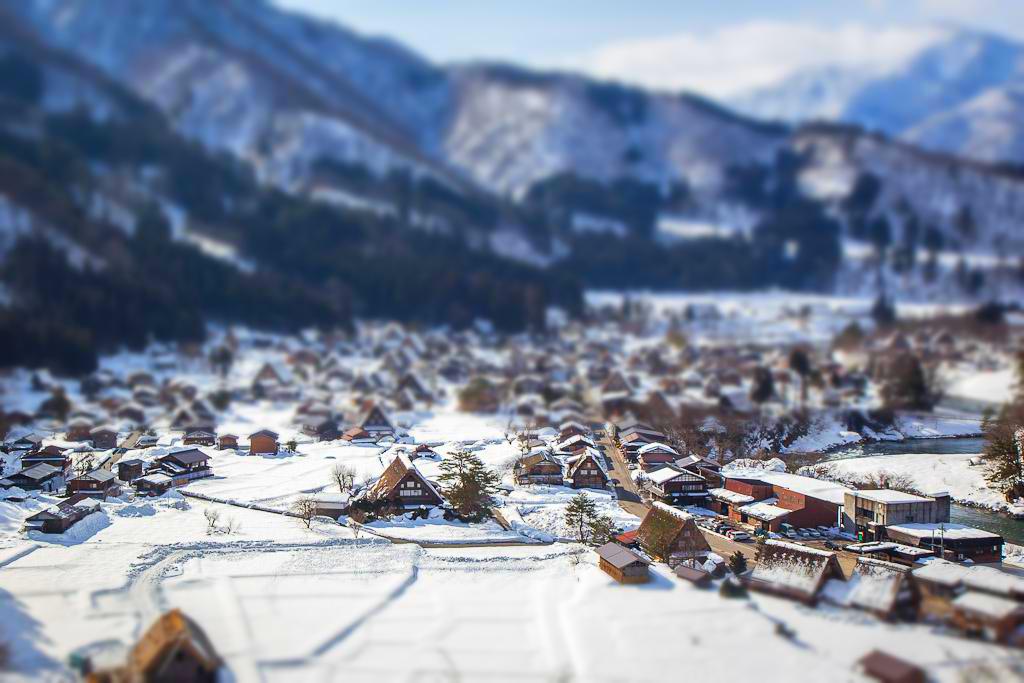
3. VARIOUS PHOTOS FROM AROUND JAPAN
Credit: Michael Turtle's travel blog
Original Image
Tilt Shift Version
Jigokudani
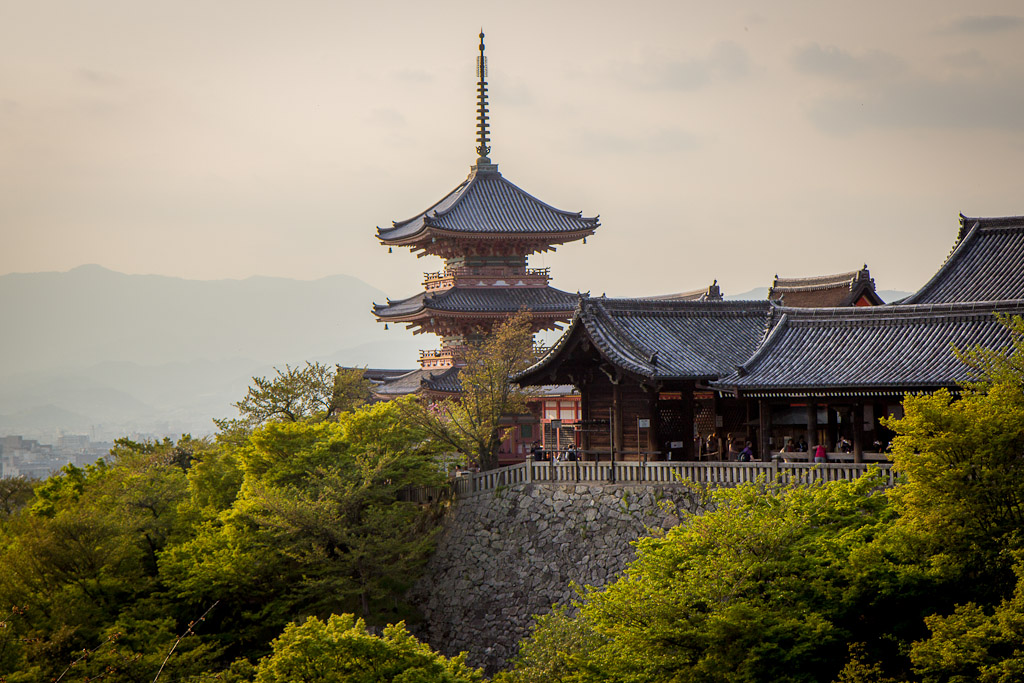
Kyoto
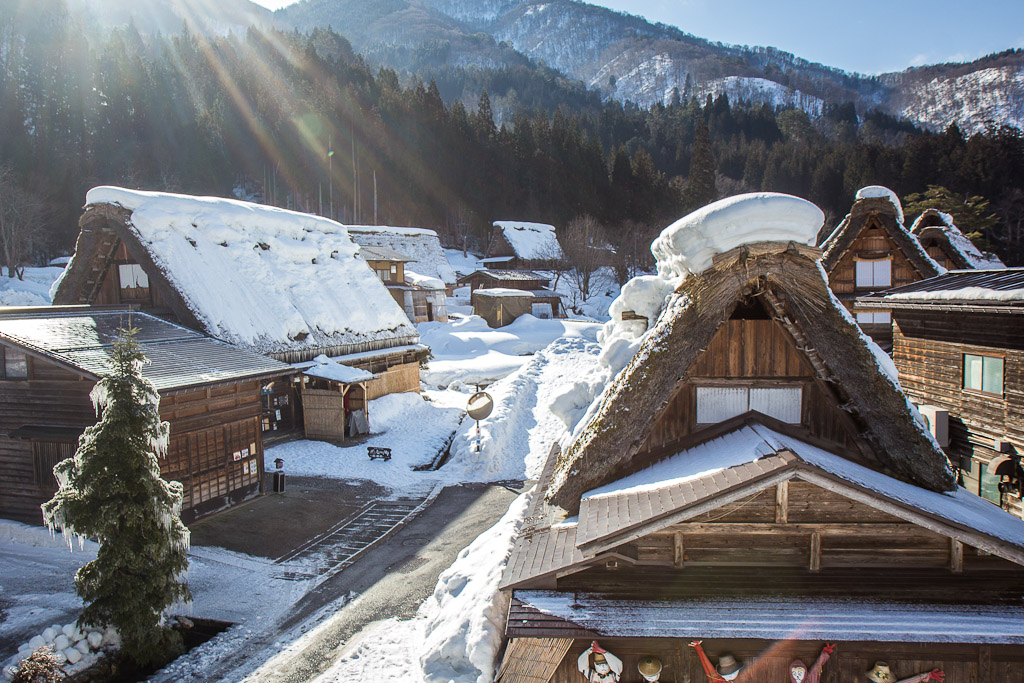
The village of Shirakawago
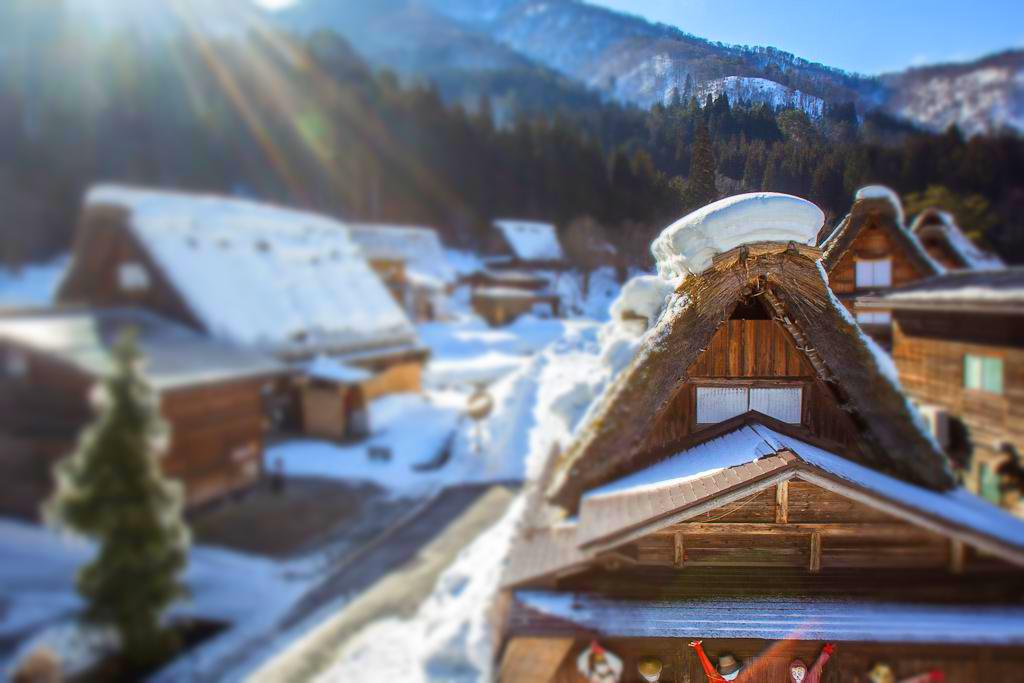

Shirakawago is a World Heritage Site
Yokohama


